Bitta Retail POS · Part 1 · 3:41 · YouTube
Set Up a Store in Business Central
What this video covers
Install on Friday, sell on Saturday. Part 1 runs the Set Up Bitta Retail POS wizard end to end inside Microsoft Dynamics 365 Business Central.
Name the store and the Front Counter register, choose Standard Checkout, and pick which services to set up now and which can wait.
The readiness check fixes the walk-in customer, posting groups, tax and number series, and every tender gets a settlement account. Finish creates the store, the register and the profile, and the register opens ready for its first cashier.
Part 1 of the Bitta Retail POS tutorial series: one store, Ridgeline Outfitters in Chicago, from install to the books. Next: items, cashiers and tenders.
Transcript
Install on Friday. Sell on Saturday. This is the register at Ridgeline Outfitters, set up in one sitting. Here's how. Ridgeline Outfitters is an outdoor gear shop in Chicago. The app is installed, and so far nothing in this company has changed. Installing never creates data. You decide when the store exists. Everything starts in one place. Search for Assisted Setup, and choose Set Up Bitta Retail POS. The first page names what your cashiers will see. The store gets a short code, MAIN, and the name your customers know: Ridgeline Outfitters. Link it to the Business Central location the stock comes from, so a sale at the counter takes items off the right shelf. This is a US company, so tax is sales tax. Pick the tax area the store sits in, Chicago. Prices on the shelf don't include tax here, so leave that switch off. Then the register itself: Front Counter. You can add more registers and stores later. Today you need one.
Next, decide how this register sells. Standard Checkout is the quick counter: scan, take payment, hand over a receipt, with parking, returns and cash work built in. The other starting point adds pickup orders, which a gear shop doesn't need. Your choice is saved as a register profile, called Checkout. It's yours, so you can change it later without running setup again. Then the optional services. Each one can wait, and nothing asks for a key or a password until you choose it. Card readers get their own chapter in the next episode, so leave cards for later. Turn on receipt printing. Receipts open in the browser, so there's no printer to install today. Keep the starter barcode rules, so the register reads barcodes from day one, including labels with the price built in.
This is the page that saves your Saturday. Before anything is created, the wizard checks the Business Central setup the register posts through. The walk-in customer, posting groups, tax, payments and number series. A row that needs attention has an assist button right next to it. You fix it here, without leaving the wizard. One assist creates the walk-in cash customer, and maps it to a real Business Central customer, with posting groups copied from one that already posts. The same click fixes the posting groups, the tax setup and the number series. Every tender needs somewhere to settle. The wizard won't guess an account, so you choose one, and every payment lands in the books at the end of the day. Cashier sign-ins can wait. Sam, Jamie and Alex join in the next episode.
The last page puts every choice on one screen: store and register, the profile, payments, printing and tax. Choose Finish. Only now are the store, the register and the profile created. Your first register is ready. And the license? There's nothing to enter. The thirty-day trial runs from first use, with every feature on and no limit on registers. Open the register. Front Counter, at Ridgeline Outfitters, waiting for its first cashier. Friday night, the store is set up. Saturday morning brings the cashiers, and what goes on the shelves. Next: items, cashiers and tenders.
More Bitta Retail POS videos
All videos 1:07OverviewPoint of Sale for Business Central
 4:34Part 2Items, Cashiers and Tenders in Business Central
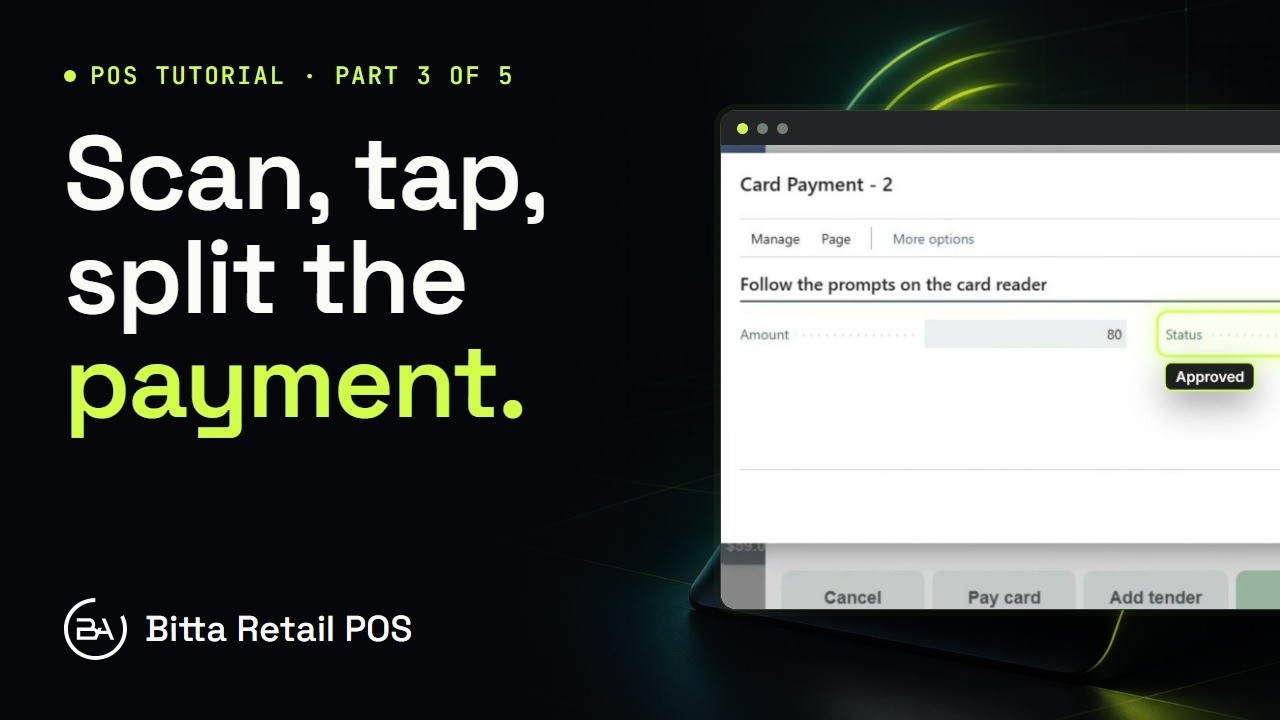 4:52Part 3A Sale at the Counter in Business Central
 5:46Part 4Cash Drawer Shift, X and Z Reports in Business Central
 5:17Part 5End of Day and Reports in Business Central
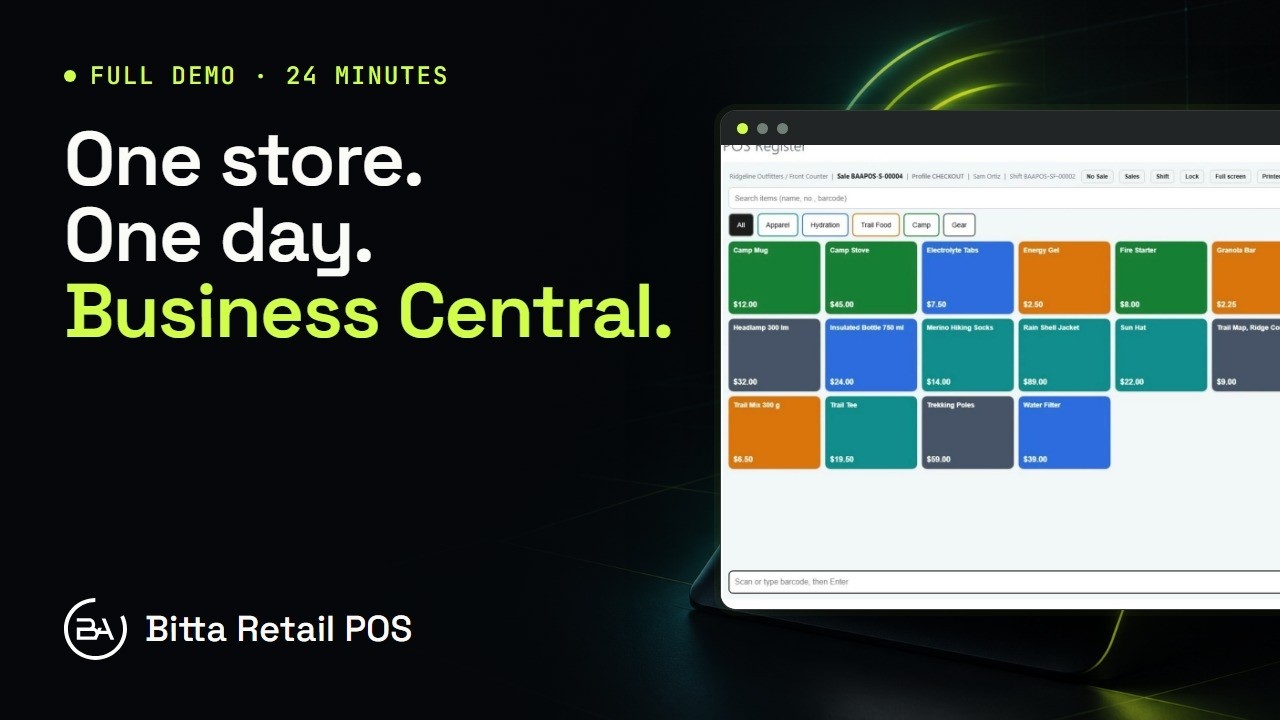 24:16Full demoBitta Retail POS Full Demo: One Store, One Day in Business Central